
It might seem hard to replace your car’s front bumper, but it’s not that hard if you have the right tools, materials, and instructions. Whether you need to replace a damaged bumper or simply want to upgrade the look of your car, this guide will walk you through the steps of a front bumper replacement.
Why Replace Your Front Bumper?
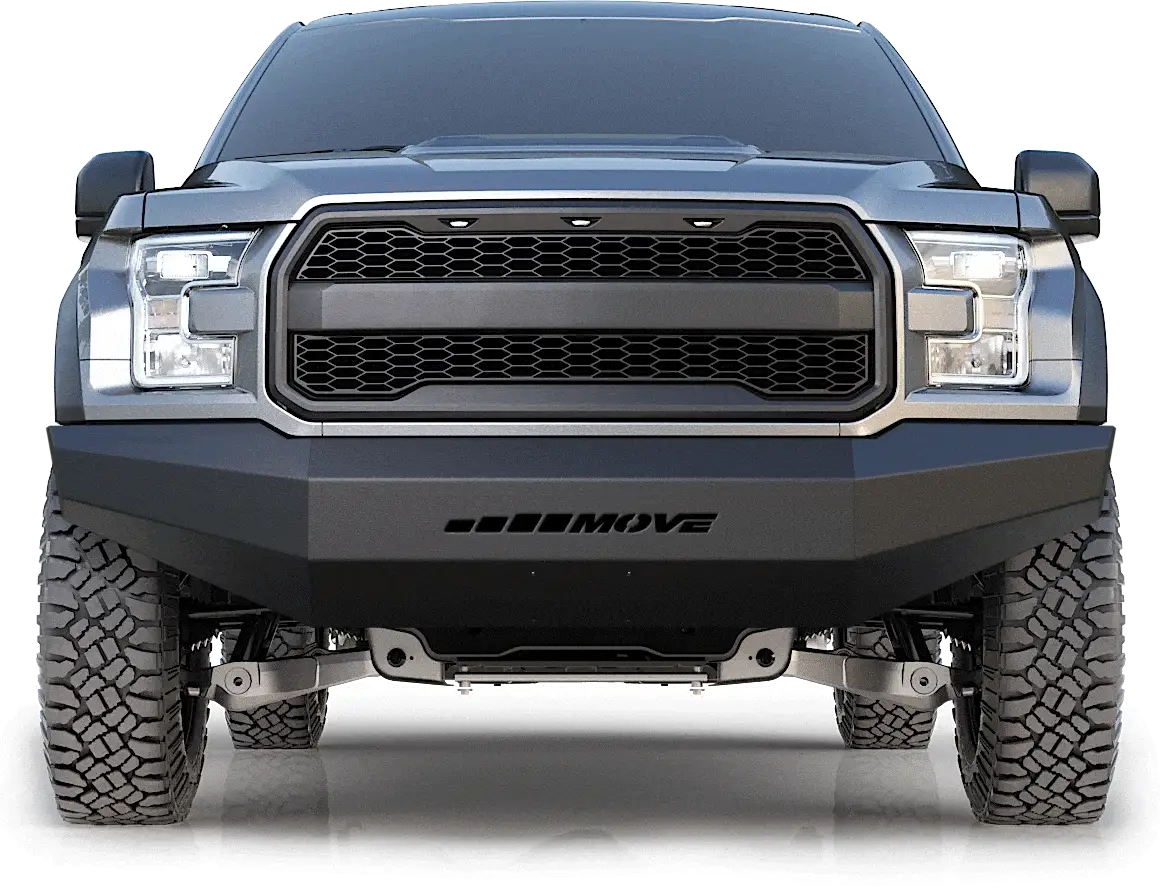
One of the most fragile parts of a car is the front hood. The fact that it’s made to absorb force during collisions means that it usually takes the most damage in small accidents. A damaged or worn-out bumper can also make your car look bad and lower its resell value. Getting a new front bumper can make your car look good again and keep it safe on the road.
Tools and Materials Needed
Get the tools and items you’ll need before you start. To help you get ready, here is a list:
- Replacement front bumper
- Socket set
- Screwdrivers (Phillips and flathead)
- Pliers
- Ratchet and extension
- Trim removal tool
- Jack and Jack stands (optional)
- Painter’s tape (optional)
- Assistant (optional but helpful)
Step-by-Step Guide to Front Bumper Replacement
Step 1: Prepare Your Workspace
Put your car in park on a flat, stable surface and press the parking brake. If you need to, use a jack and jack stands to raise the front of the car so you can get to it more easily. Before you start working, make sure the car is safe.
Step 2: Remove the Old Bumper
Disconnect the Battery
For your safety, unhook the negative end of your car battery. This keeps the electricity from cutting out while you work.
Remove the Grille
Often, the grille is connected to the bumper, so you may need to take it off first. If the screen is held in place by screws or clips, use a screwdriver to take them out. Once the screen is free, put it aside.
Remove Fasteners and Clips
Find the clips, bolts, and screws that hold the bumper to the car. Most of the time, you can find these in the wheel wells, under the bumper, and along the top part where the bumper meets the hood. To take these screws out, you will need a socket set, screwdrivers, and tools. Track down all the parts because you’ll need them to put the new bumper together.
Disconnect Electrical Connections
If your bumper has fog lights, parking sensors, or any other electrical parts, make sure they are not connected before you take the bumper off. Carefully disconnect the wires and put them somewhere out of the way.
Step 3: Remove the Bumper
Once all the screws and wires are taken off, carefully pull the hood away from the car. You might need someone to help you hold the bumper while you take it off. Be careful not to hurt the paint or anything else nearby.
Step 4: Prepare the New Bumper
Inspect the New Bumper
Check the new bumper for any damage or flaws before putting it on. Make sure it fits the type and make of your car.
Transfer Components
If there are parts of the old bumper that need to be moved to the new one, like fog lights or trim pieces, do it now. Put them on with the same screws or clips that held the old bumper in place.
Step 5: Install the New Bumper
Position the Bumper
Carefully put the new bumper on the car so that the fixing points are lined up with it. It would be helpful if someone held the bumper in place while you worked.
Reattach Fasteners
Use the bolts, screws, and clips you took off earlier to hold the bumper in place. Tighten everything evenly to make sure the bumper is attached firmly and in the right place.
Reconnect Electrical Connections
If your bumper has electrical parts, connect the wires again right now. Make sure that all of the links are safe and properly insulated.
Reattach the Grille
If you took off the grille, use the screws or clips you set away earlier to put it back on the new bumper.
Step 6: Final Checks
Reconnect the Battery
Connect the battery’s negative wire back up. Make sure it is securely fastened.
Test Electrical Components
As soon as you start your car, check any electrical parts that were left unplugged, like the fog lights or parking sensors. Check to see if they are working right.
Inspect the Installation
Make sure the bumper is lined up right and that all of the screws are tight. Check for gaps or things that aren’t lined up right that need to be fixed.
Enjoy Your New Bumper
It might seem hard to replace your front bumper, but you can do it yourself at home if you’re patient and have the right tools. DIY projects like this one not only save you money on labor costs but also give you the pleasure of keeping your car in good shape and making it better. Enjoy how your car looks new again and how safe it is now that it has a new front bumper.
Keep an eye for more latest news & updates on Web of Buzz!